
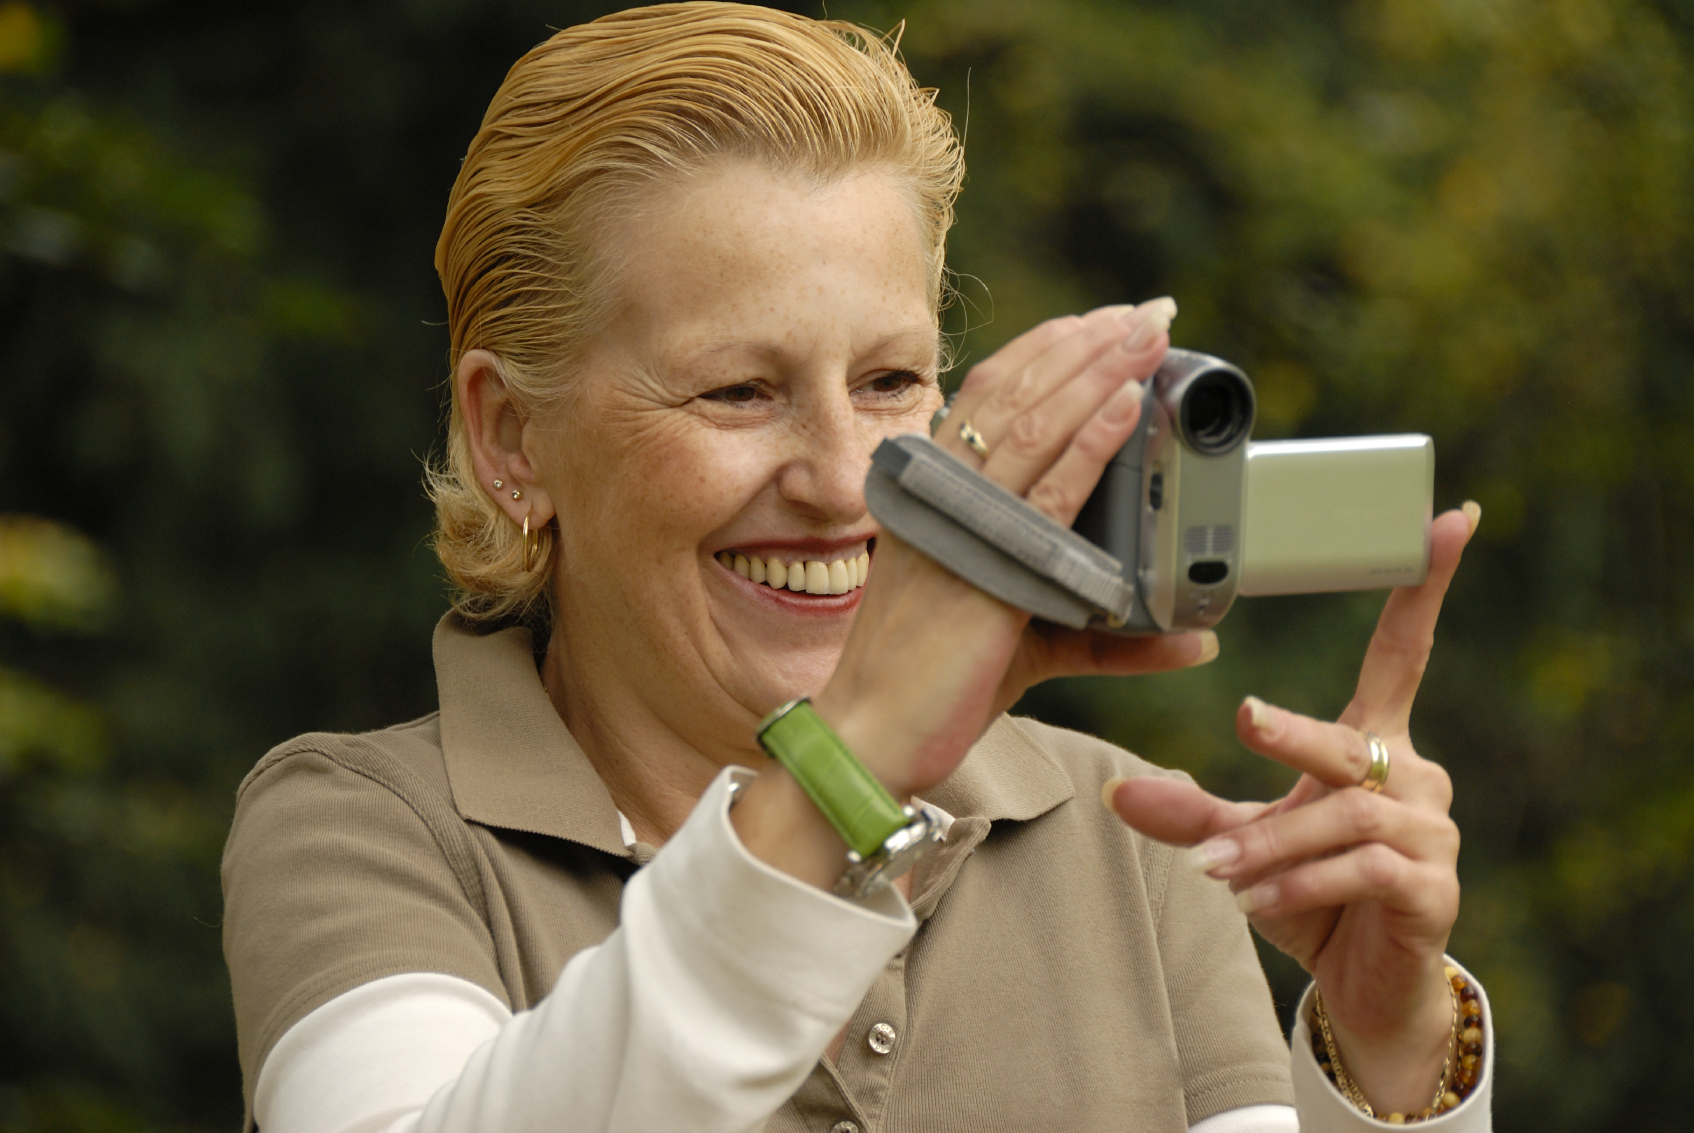
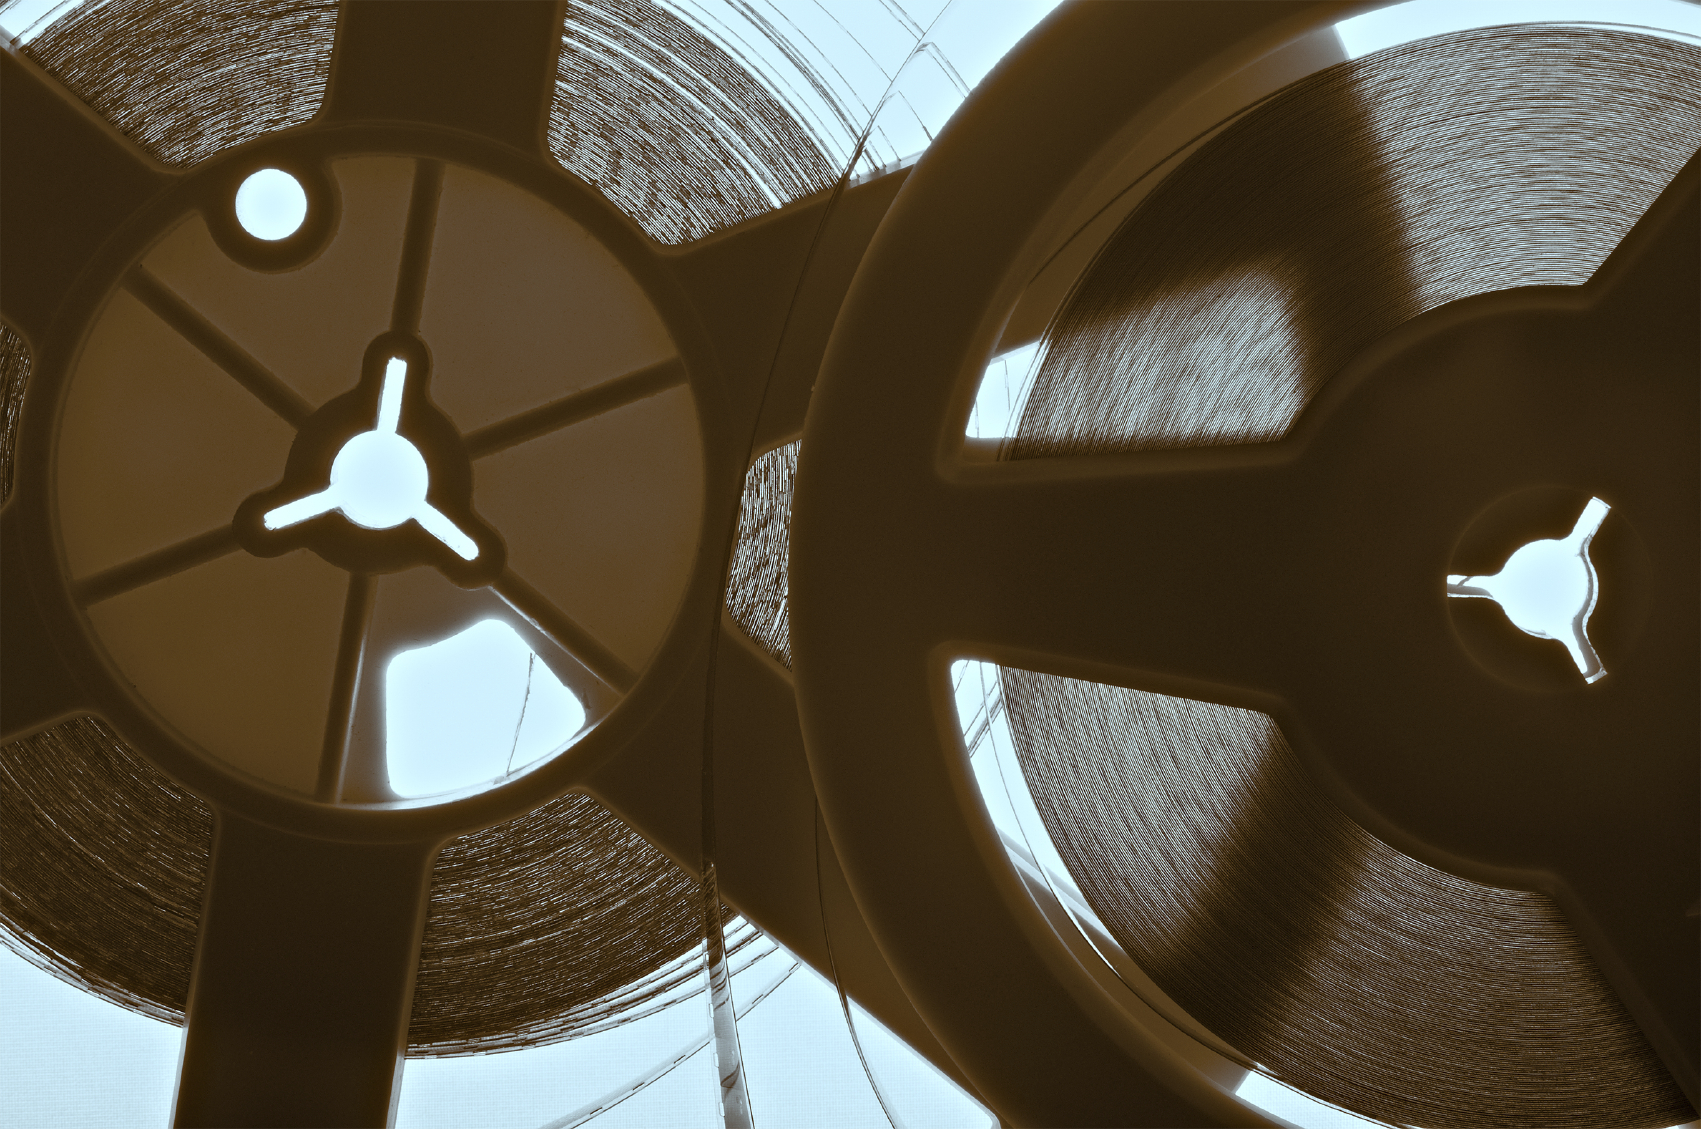
So you’ve finally had a chance to dig out those old home movies you filmed on that super heavyweight handheld cine film camera that was state-of-the-art 30 years ago. You watch them back, thinking about how awesome it would be to watch this on a good ol’ DVD or Blu-ray player, rather than faffing about with that cumbersome cine projector you’ve kept hidden in the loft for just such an occasion as this.
Sweet. You’ve decided to go for an effortless transfer from cine to DVD or USB – and then…
The home movie you’re watching goes quiet. The audio drops out, there’s a nasty, noticeable jump cut. You can’t show this to your family! Right? Well…
Fixing Audio Issues
Problems with audio are fairly common, particularly with older films. After all, you’re probably not running a professional set-up with boom mics and the like. The usual audio complaints include:
- Inconsistent volume
- Background noise distorting speech
- Sounds cutting out completely
By getting your movie transferred on to DVD, USB or HDD in advance, you’ll have the luxury of being able to upload it to your laptop and open the film inside an editing studio, like Adobe Premiere or Avid or even Windows Movie Maker. Here you’ll have total control over every frame of your home movie – from the visuals to the audio.
That means you can balance the sound levels before your big unveiling, rather than fumbling around with a remote control while apologising profusely as you turn the volume up and down.
For moments where you lose audio entirely, there’s always the option of cutting this particular section out entirely, or adding an over-dub. This is where you add fresh audio over your existing track – whether that’s music, re-voicing, or adding sound effects to hide it.
Alternatively, if sound isn’t a requirement, you could always opt to have us over-dub the film with some classical or easy listening music. Problem solved!
Fixing Video Issues
With a bit of simple editing, you can also hide any visual troubles with relative ease. And since you’ve already got a master copy on DVD or USB, you don’t need to worry about making mistakes with the edited version.
Typical problems with the video include:
- White static lines on screen
- Jump cuts
- Lighting and colour saturation/fades
So let’s fix that!
You’re no doubt aware of the fantastic quality of video that comes with transferring to DVD- there must have been a reason DVD killed the video star right?
Again, if you transfer your video to USB and put it onto your laptop, you’ll be able to open it with some kind of editing software – software which specialises in correcting image faults, especially ones including lighting and colour saturation.
You’ve heard of re-mastered editions? Well, that can be a simple case of fixing lighting problems and perfecting the colour on the screen!
Jump cuts are a little trickier, but what you do have several options. You could add a title card that transitions into the jump cut so the cut isn’t a complete surprise, plus the video will run smoother.
You can also use something called ‘morphing’, which seamlessly gets rid of jump cuts.
In the end, fixing these issues doesn’t have to be a huge job, but you might want to play around with some of the software so that perhaps you not only correct the issues, but create a video that’s truly spectacular – editing software is relatively cheap after all!
If you have an old movie, whether it’s on super 8, standard 8, 16mm film or regular film, we can seamlessly transfer it to DVD or AVI file format for you so that you can cherish it forever.
For more information on what we can do for you, contact us on 0800 592433 and follow us on Twitter for all of the latest updates in the cine world.